8/10/13
Alongside my new Millinery class, I am also attempting my first bit of Tailoring! The hardest bit about the brief was the fact that I had to choose my own jacket to make.
As I am making a selection of Military hats in Millinery, I have decided to construct a jacket to go with one of them......here are some of my ideas so far.........
The Australian Army tunic;
The red Irish Guard tunic;
Javert's tunic from Les Mis;
and finally the red tunic worn by the Royal Canadian Mounted Police!
Well.....my tailoring module was hard work and very hectic (hence the delay in results!) but I'm glad to say that I was awarded with a distinction!! (or a First in degree terms!)
To start, I had to learn a few tailoring techniques....
 |
| My own hand-made shoulder pads using calico fabric and wadding! |
 |
| Using iron-on interfacing to create the fusible method of tailoring. Showing darts and collar inside jacket........ |
 |
| ..........and outside jacket. |
 |
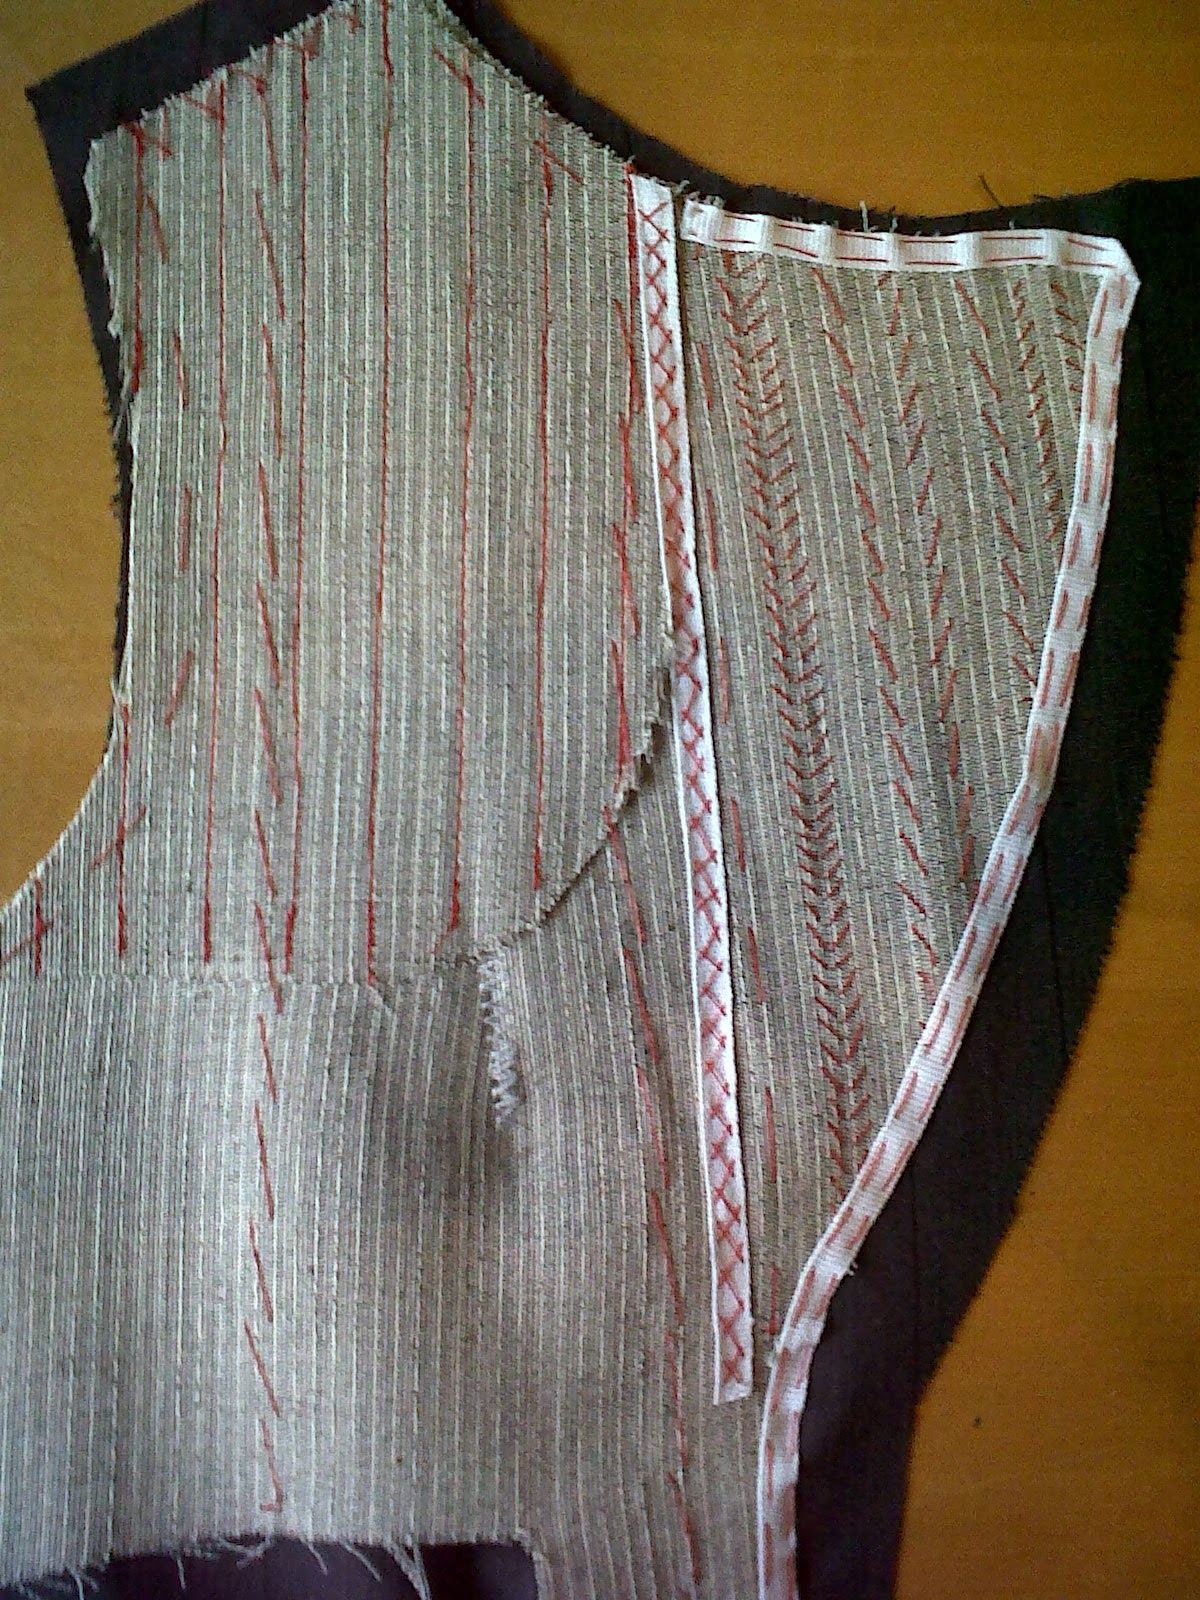
| Here's the custom or bespoke method! i used goats hair interfacing on the inside of the jacket front and used different types of stitching to hold everything together so that you couldn't see any thread from the other side! |
I finally decided to make the RCMP jacket so here are a few images that I found on the internet which I'm going to use as a guide when making my jacket.....
Here's my construction log and final results.........
Found a basic block for a pattern that i could adjust myself.
The main thing that needed adjusting was the shoulder dart on the front bodice piece......
Next came the sleeves. I've never done tailored 2-piece sleeves before so here goes.....
Pattern pieces for sleeves!
Next stage is the toile making. I measure up my model, Jess and start cutting out pattern pieces......
 |
| Front bodice with dart adjustment |
 |
| Back of jacket with seam adjustment |
 |
| Wasn't too sure about this but decided to add vents into the back of the jacket.... |
 |
To make the mandarin style collar I used a pattern from my Winifred Aldrich metric pattern cutting book.
Thanks Winnie!!! |
 |
| Looks alright!!! :) |
 |
Well, the sleeve goes in OK but is a bit short.......adjustment needed!!
I blame the pattern block!! :) |
Next to start cutting from the real fabric.....
For this I used a scarlet twill for the main body and a navy twill for the collar pieces. I also used a red satin for the partial lining and red sating bias binding for the seams.
 |
| Final layout |
 |
| I had to make sure that certain areas of the jacket were interfaced. Our tutors decided to go for the iron-on fusible method rather than the bespoke method as it was quicker!!! Thank God!! lol |
 |
| Shoulder areas need extra interfacing! |
 |
| Keep forgetting to cut AROUND the darts!! Wondered why they were getting in the way! |
 |
| Adding the facing to the front of the jacket. |
 |
| Bodice all sewn together and interfaced....... |
 |
| .........ready to try on Jess! |
 |
| Woo Hoo! It fits!!! |
 |
| Satin lining goes in!! |
 |
| Sleeves are then added and four pockets. Two on the breast..... |
 |
| ......and two on the hip. |
 |
| Use my toile pattern for the collar but this time add a couple of inches! |
 |
| Attach the navy twill..... |
 |
| .....and done!! |
Once finished, I give the jacket a good pressing, add the buttons and badges and hand it in for marking (along with a mountain of research!!!)
I'll add pictures of the finished jacket later!!!!! :)